
The DIYWaterChiller is my attempt to build a cooling system for my 40W CO2 laser cutter.
Latest Updates:
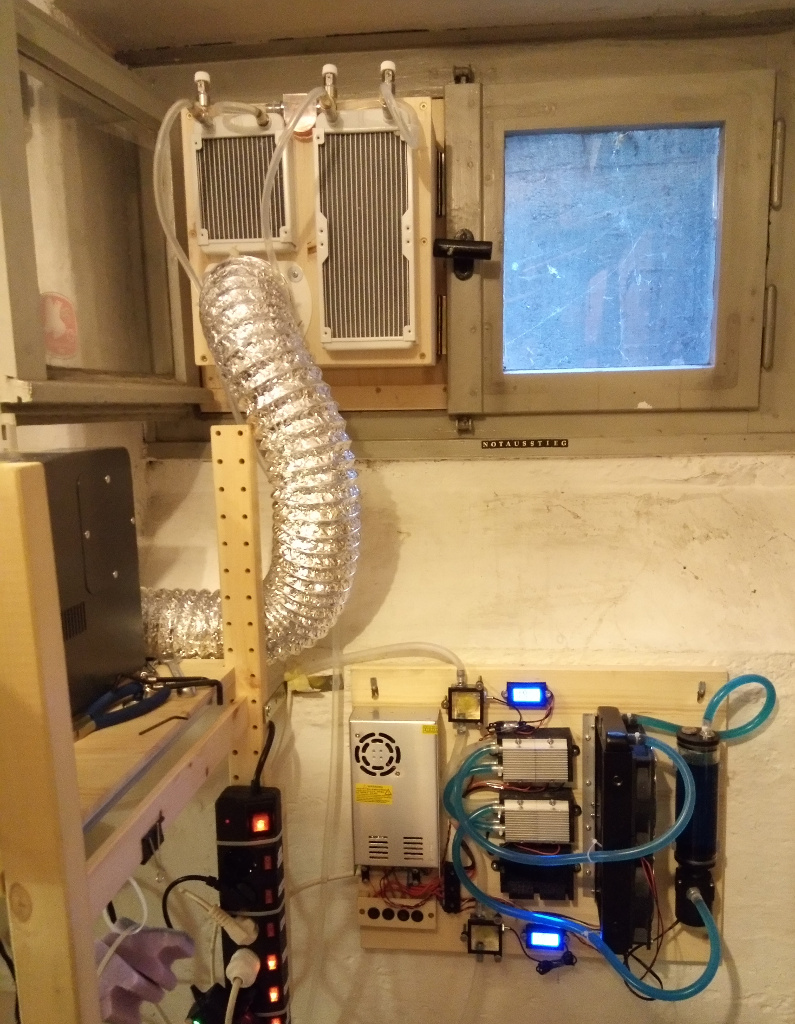
21 Apr 2020 - 2nd Iteration
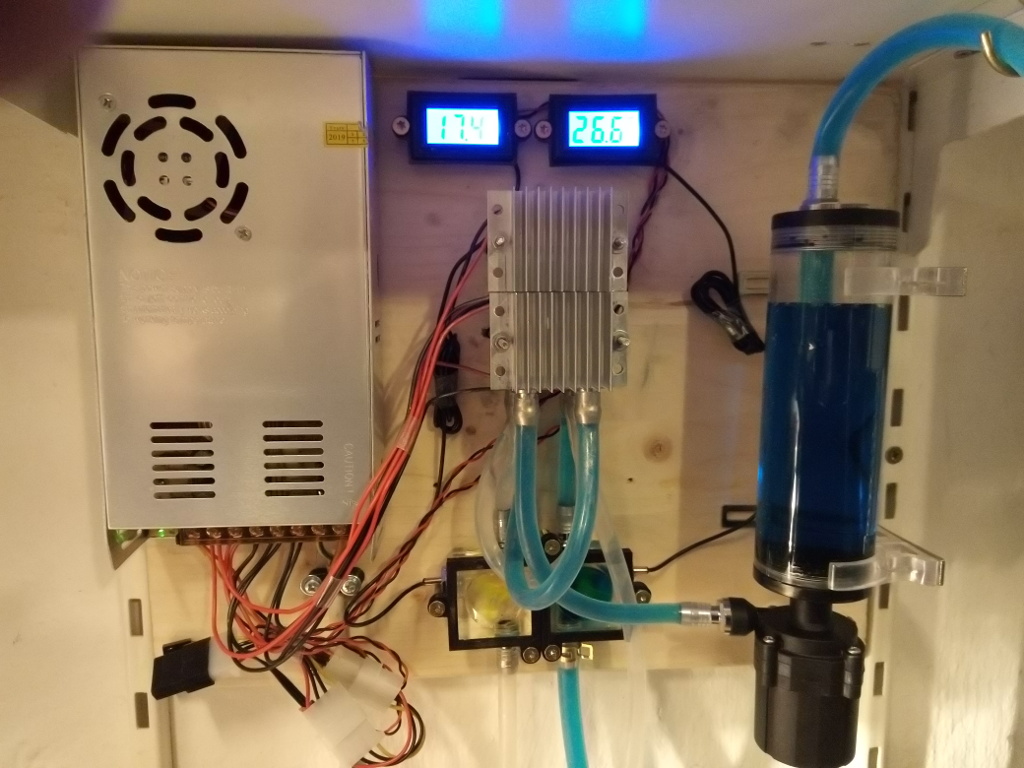
I’ve built a second iteration of my Peltier water cooler. This time it’s a more modular approach with a radiator and fans right on the board.
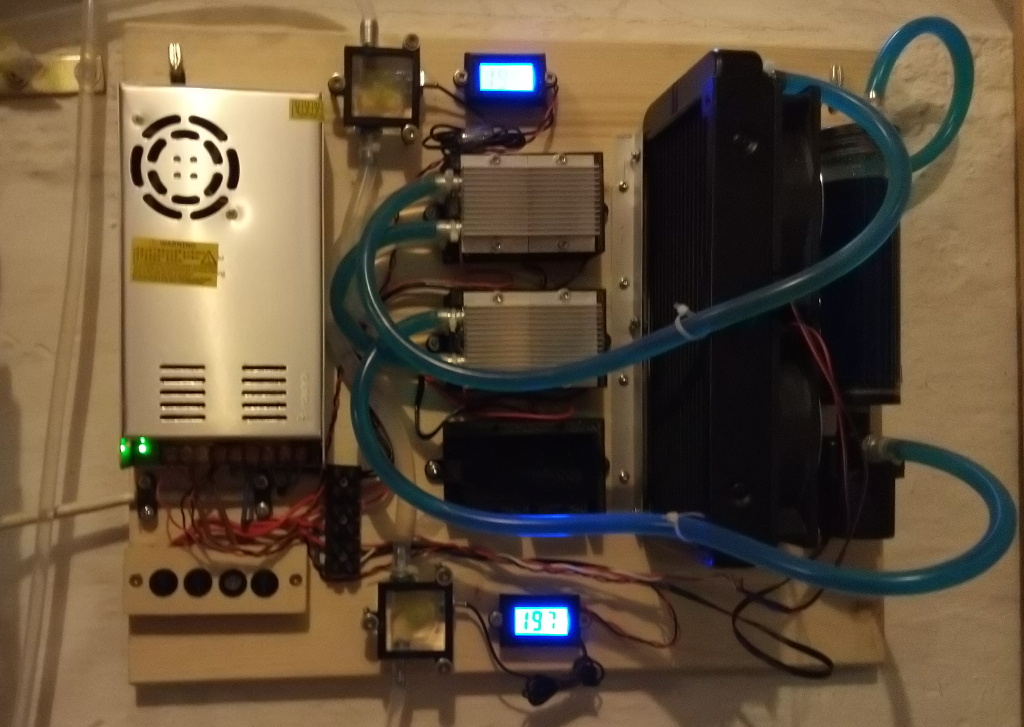
My third set of cooling blocks is still on it’s way and one of the four Peltier elemnts turns out to be broken. So with thee working TEC1-12706 elements I’m able to cool the water flow down by about 0.5 ℃.
So now I’ve moved the old radiators into the primary cooling circuit, inbetween the outlet of the laser tube and the water tank.
This setup does not leak any water, but it does somehow leak quite a bit of air into the system. Luckily my water pump is strong enough to push out the air within a few seconds.
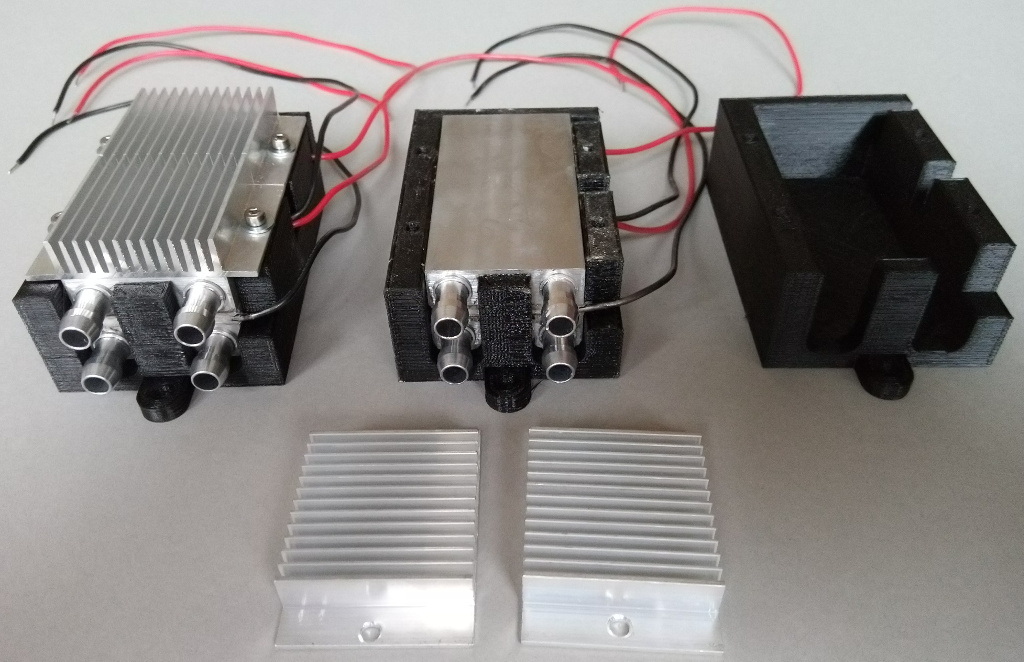
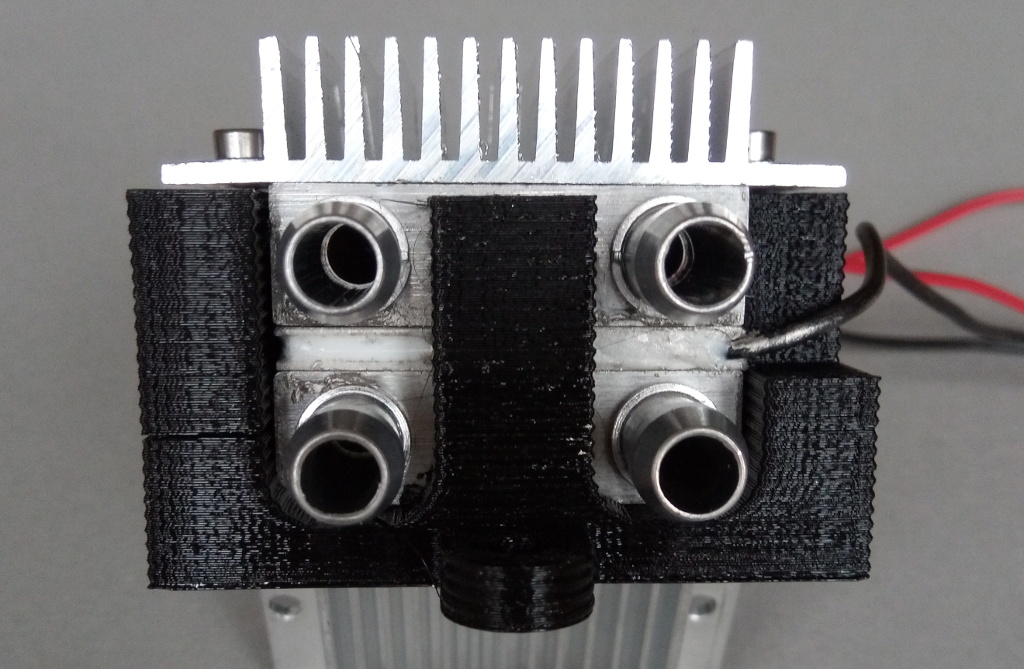
30 Mar 2020 - Chiller Mounts
Working with thermal paste is very messy. So I printed some mounts to encapsulate the aluminum blocks. This way I don’t have to touch them anymore and hopefully this will also provide some insulation for the cold parts.
22 Mar 2020 - Experimental Cooler
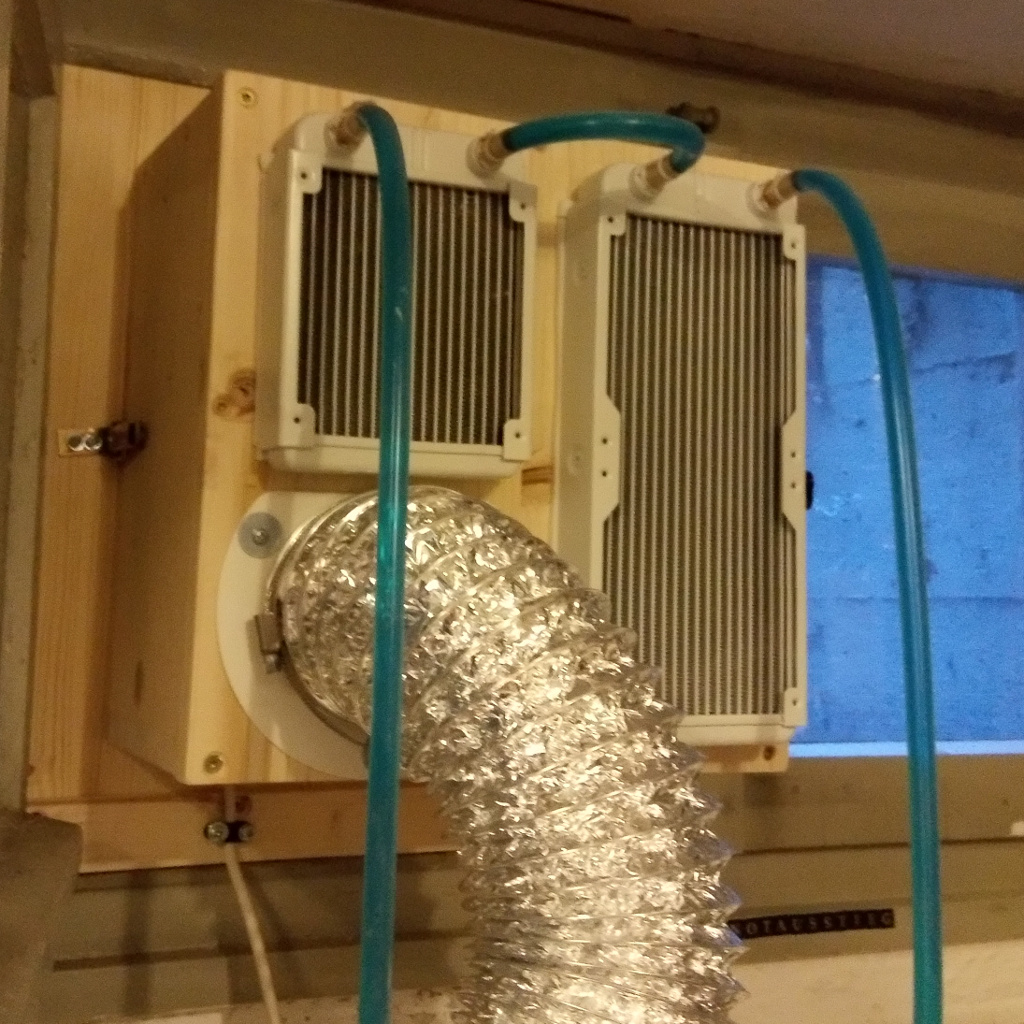
My Peltier elements have arrived in the mail, so I rigged up an experimental cooler setup without any current regulation. I’m using four 40x80mm aluminium water coolers and four TEC1-12706 peltier elements. Two aluminium blocks are now part of the primary cooling circuit and are sandwiched by the two aluminium blocks of the secondary circuit.
The secondary cooling circuit runs through some radiators, which are atteched to my exhaust fan.
This contraption works to some extend. I defenitely don’t have to worry about regulating the current that runs through the peltier elements. The cooling effect is better than nothing, but the usability of this installation needs improvement.
18 Mar 2020 - Bad 3D Printing
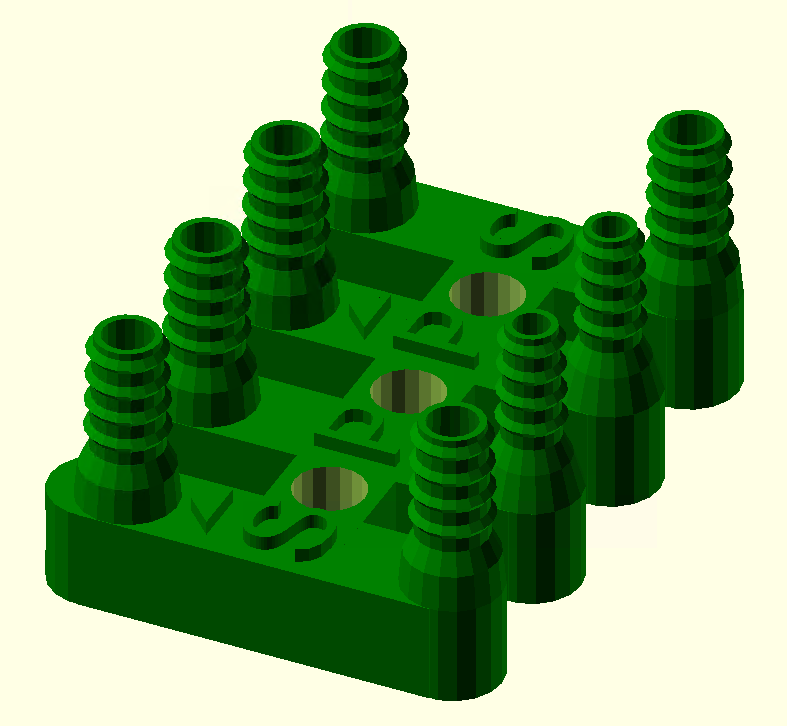
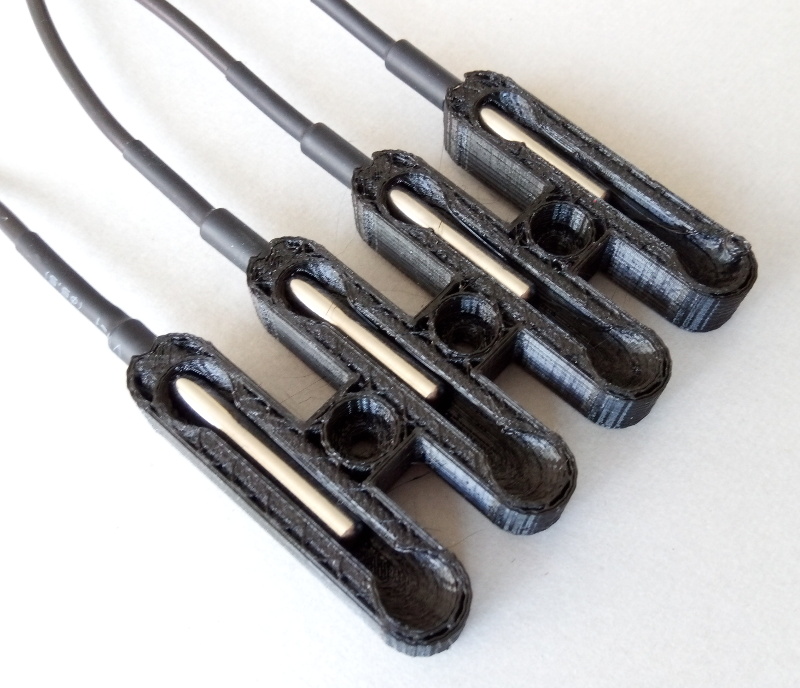
I’m now trying to build a Peltier cooling system with two water circuits. The primary circuit on the cold side of the Peltier elements cools the larer tube. The secondary circuit on the hot side of the Peltier elements dissipates the heat through radiators. I want to monitor the temperature of both circuits before and after the Peltier element with DS18B20 temperature sensors. I coud not find any fitting that would allow me to insert the sensors into the water flow. So I designed this part:
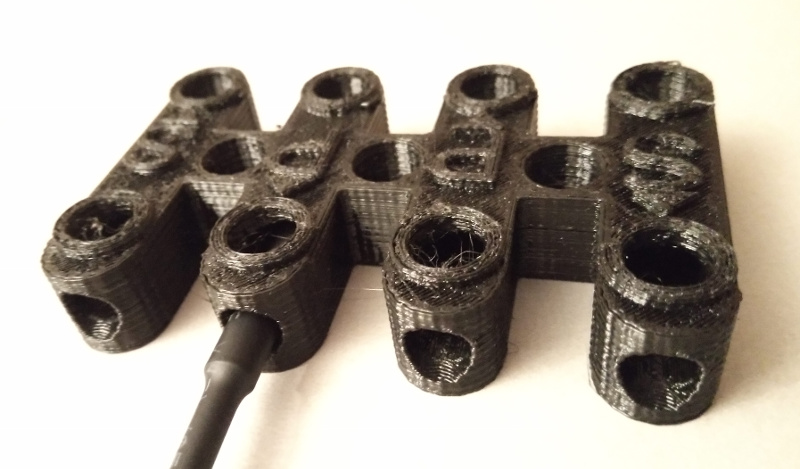
My first two attempts at printing this part in PETG turned out like this:
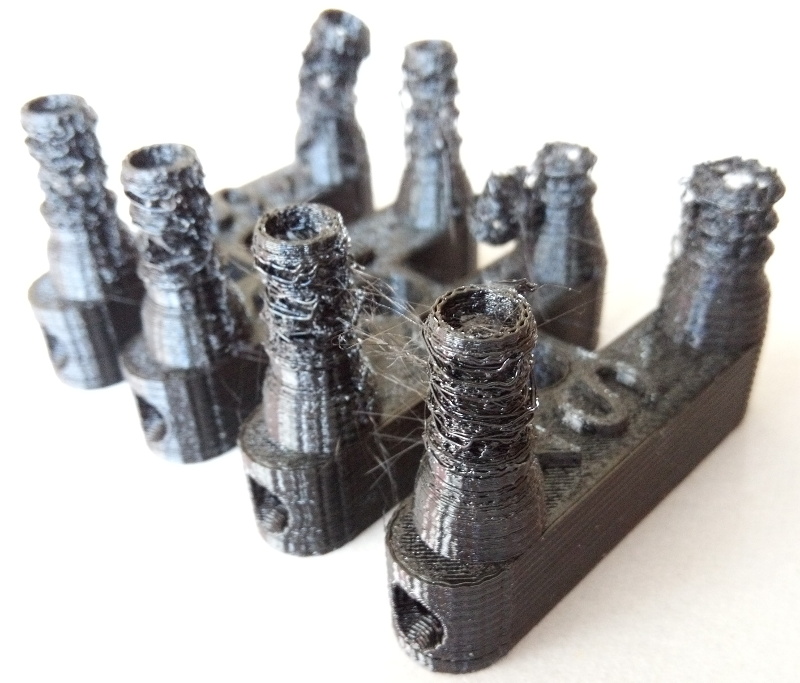
The bottom part turnd out ok, but the fine hose connectors became stringy and fragile.
I tried to resolve this problem by cooling down the print as soon as the bottom part got done. My printer doesn’t have a build-in cooling fan, so placed a big fan next to it. During my first attempt, the battery of my laptop died mid-print. But you can see how the temperature sensors fit.
In my next attempt the fan apparently cooled the extruder so far down, that it blocked the filament flow.
Thes part is too hard to print. It needs a redesign.
17 Mar 2020 - Initial Plan
My initial plan to cool the laser tube was to simply use a large tank full of destilled water at ambient temperature. An UV bulb insude the tank was supposed to keep the water clean. And to protect the tank walls from the UV light, they were to be coated with adhesive aluminium foil.
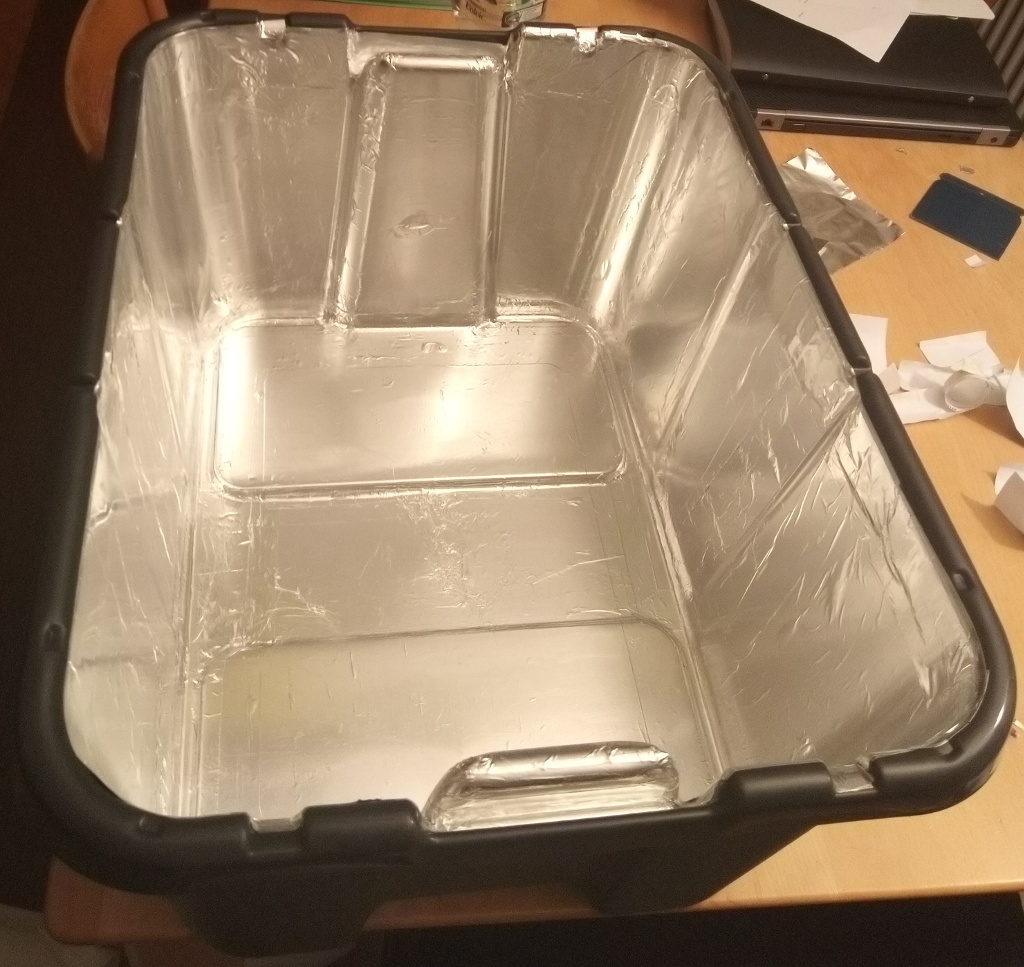
Unfortunately is not enough. The laser tube is to be operated at 15°C to 20°C, but my basement already has an ambient temperature of 20°C. I need an active cooling system.
16 Mar 2020 - Project Started
This is project is a collection of everything I come up with to cool the 40W laser tube of my K40 laser cutter clone.